Sunday, 1 November 2020

How to carve a Halloween Turnip

 Post by Hebe


In my english class this year we learned about Halloween.  My writing assignment was to learn about the history of Halloween.  I learned that Jack-O-Lanterns come from a Celtic tradition of carving TURNIPS.


I am going to show you how to carve a TURNIP.  I learned by watching this video. How to Carve a Turnip   Here is me rewatching the video during the process.

You can learn more about Turnip carving on Wikipedia.History of Jack-O-Lanterns

Here are my first efforts to carve a turnip.

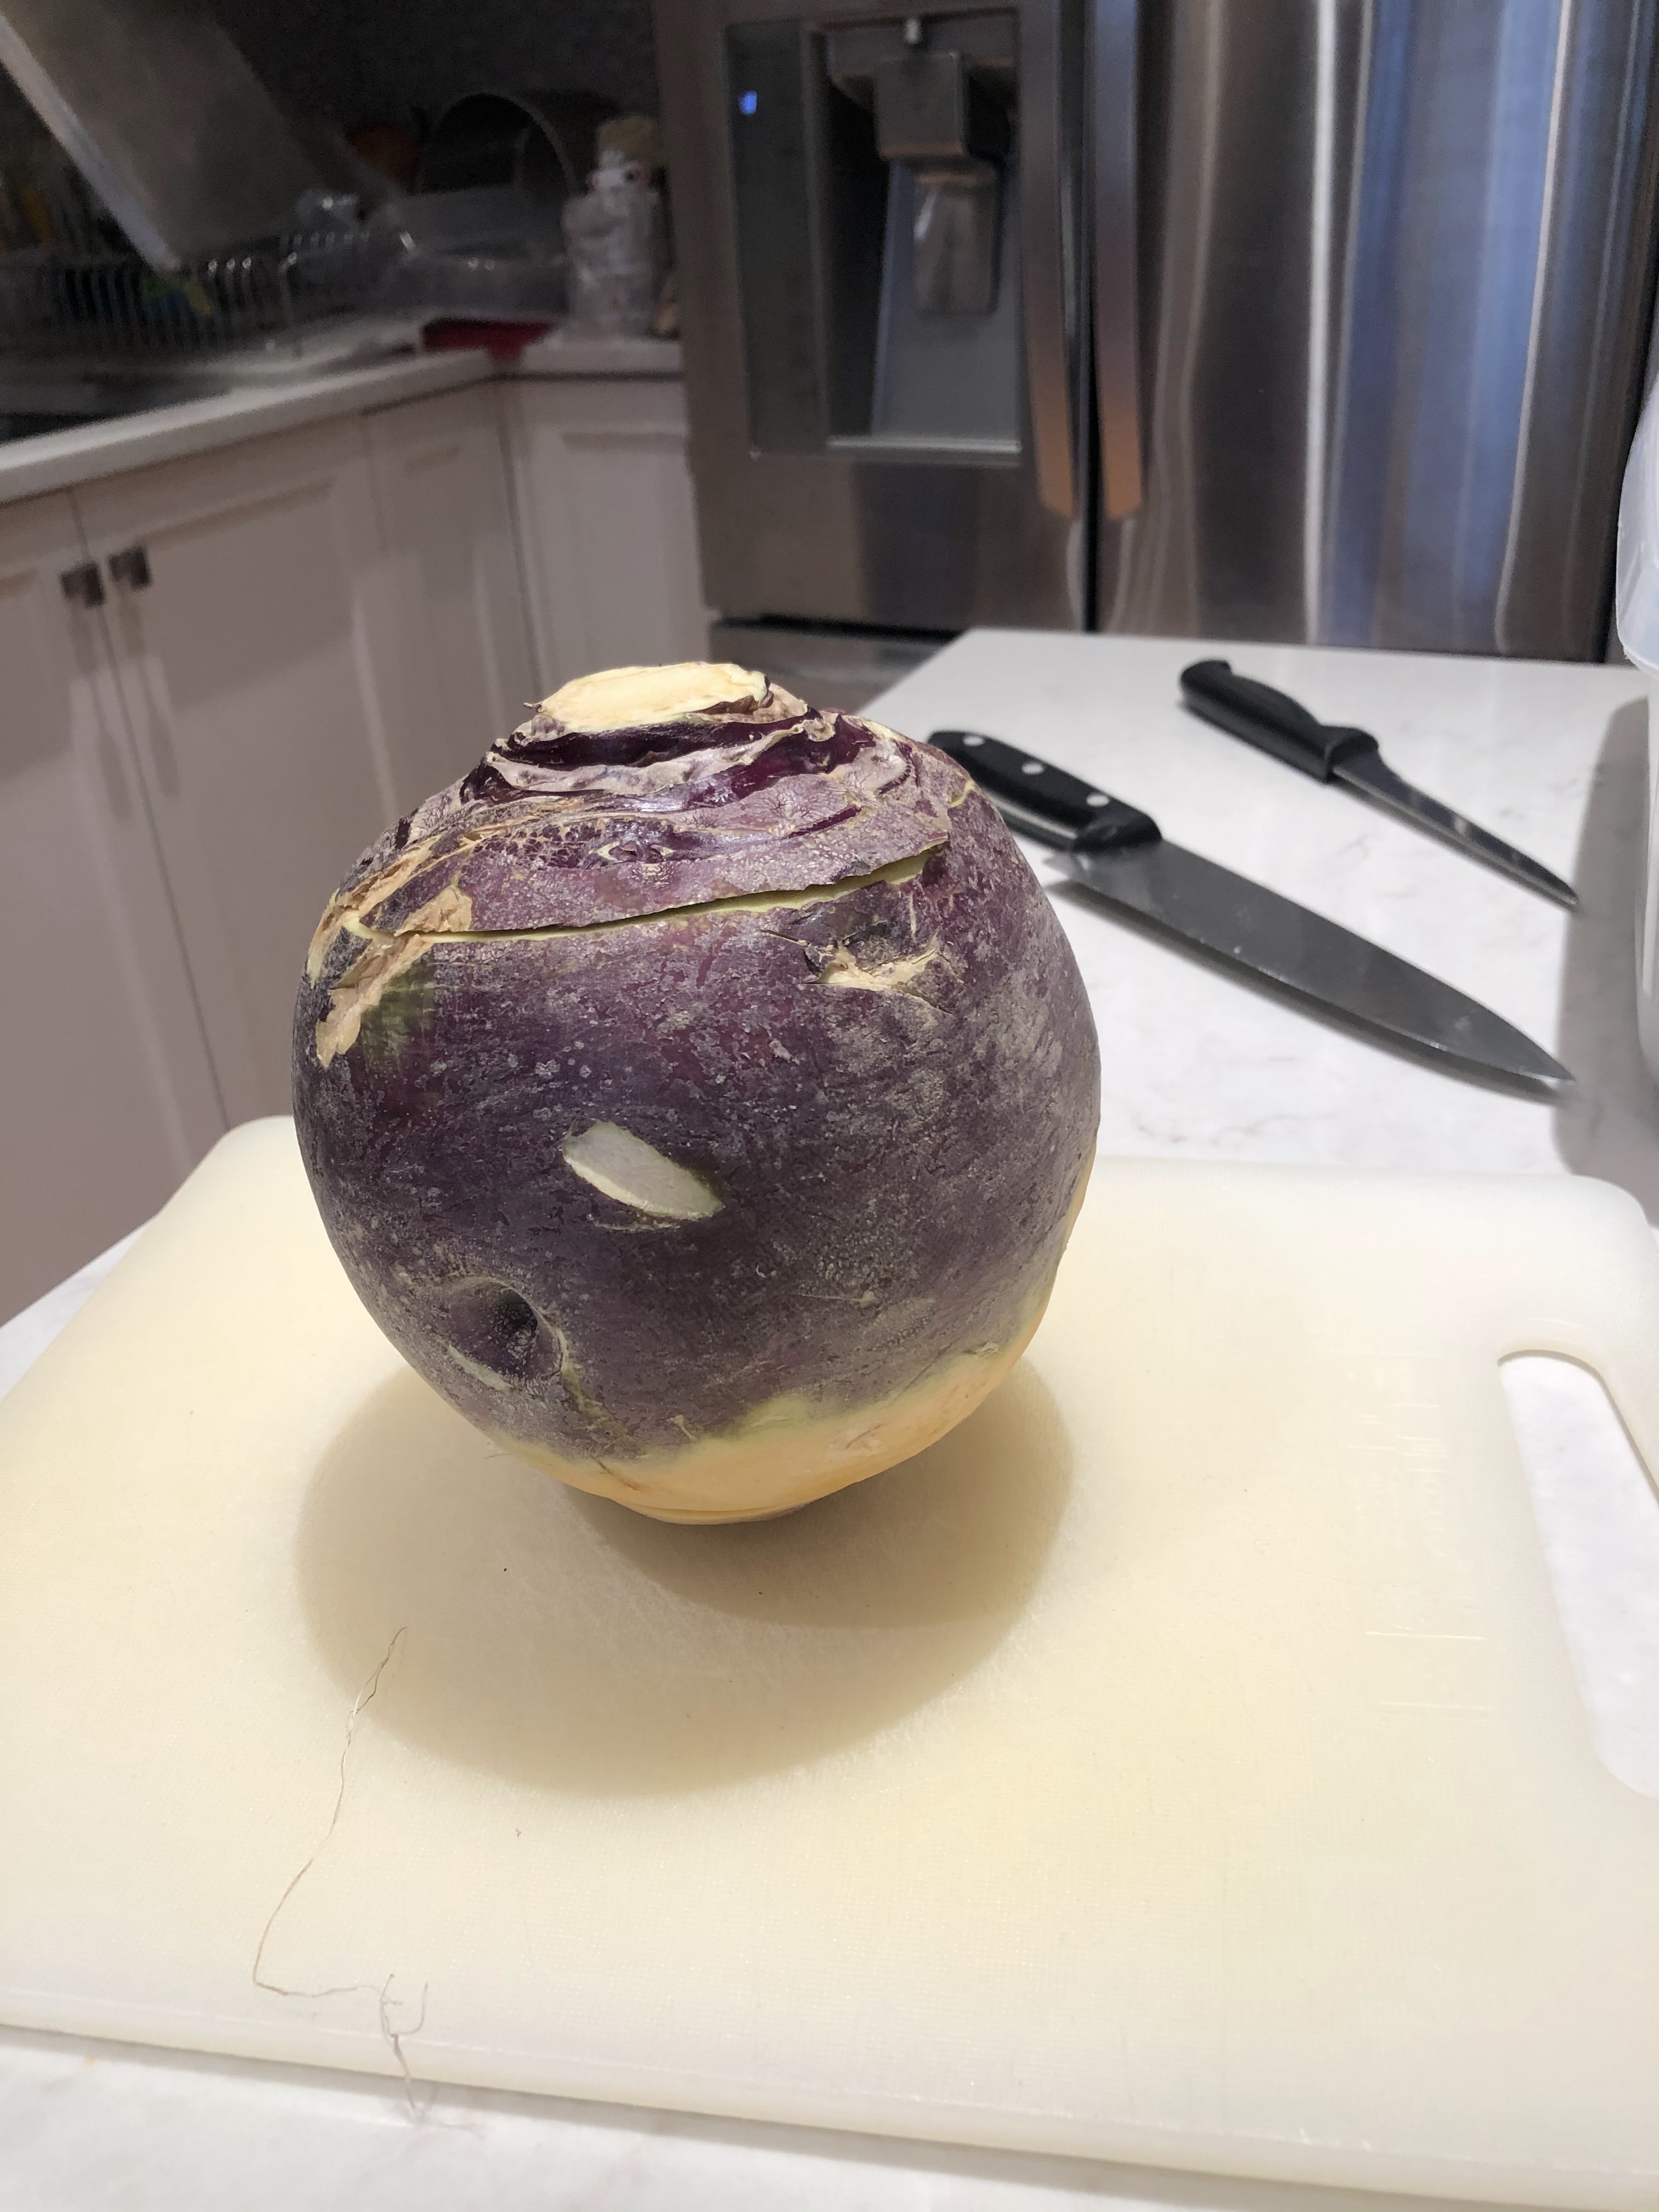
Step 1 - Cut off the bottom and top.  Cutting off the bottom keeps you turnip sitting flat on the ground.  The top becomes the lid.


Step 2 
Hollow out your turnip.  It is really stiff and hard.  Use a knife to cut around the inside and a spoon to carve out the middle.  Get your mom to help you.


Step 3 - Draw a face on your turnip, then cut it out.  Pumpkin carving tools work pretty well or an exacto knife. 


Step 4 - Put a light inside.  Tea lights work best but ours were broken.  We used a tea light but be careful.  At the end of the night our top was cooked.


STEP 5 - Put your turnip outside and go trick or treating.


Step 6 - Come home and eat your candy, not the TURNIP.


THE NEXT DAY - What to do with your turnip?  Why not try this recipe from a recipe book called Vegetables You Used to Hate.  


Here is our efforts to follow the recipe.  We will let you know how it tastes.


Monday, 26 October 2020

Pizza Dough Using Semolina Flour

Photo Credit: Fifteen Spatulas

Glen and Janet have a new pizza crust using semolina flour and regular flour, half and half.  You can buy semolina flour at the store -- $3 a bag, maybe $2 if you find it on sale.

Here is the link for how to make this crust, compliments of Fifteen Spatulas, 

And that reminds me, I need to buy a few spatulas.  

What would it hurt to have a few extras?  When I need one, I only have the one in the sink that needs washing.

Enjoy your pizza crust.  It is fun to mix up the many ways of making crust and see what a family really likes. 

For the Pillings?  This is the best one.

Arta

Thursday, 8 October 2020

Apple Cranberry Sauce

... apple cranberry sauce ...

This is my favourite cranberry Sauce and I got it from Pam Cook who is Marina's sister.

David eats it like candy so I make a big batch

Apple Cranberry Sauce

                         6 X recipe

2/3 c.               4 c.                  diced red apple (firm)

1 c.                  6 c.                  fresh cranberries

½ c.                  3 c.                 brown sugar

¼ c.                  1 1/2 c.           water

½ tsp.              3 tsp.               cinnamon

2 Tblsp.           ¾ c.                 chopped Pecans


1.     Combine first 4 ingredients in saucepan; boil 
stirring occasionally.

2.     Lower heat and simmer for 15 min.; stirring 
often.

3.     Add cinnamon, & nuts; simmer 5 more min.

Tuesday, 6 October 2020

Creamy Cajun Chicken Pasta

 Creamy Cajun Chicken Pasta

Directions

  • Bring a large pot of lightly salted water to a boil. Add linguini pasta, and cook for 8 to 10 minutes, or until al dente; drain.

  • Meanwhile, place chicken and Cajun seasoning in a bowl, and toss to coat.

  • In a large skillet over medium heat, saute chicken in butter until no longer pink and juices run clear, about 5 to 7 minutes. Add green and red bell peppers, sliced mushrooms and green onions; cook for 2 to 3 minutes. Reduce heat, and stir in heavy cream. Season the sauce with basil, lemon pepper, salt, garlic powder and ground black pepper, and heat through.

  • In a large bowl, toss linguini with sauce. Sprinkle with grated Parmesan cheese.


Friday, 2 October 2020

A Good Hamburger Bun Recipe

Photo: Kevin Scanlon for The New York Times
I am looking for a good hamburger bun recipe.  I haven't tried this one out, but I am going to give it a shot today and then report back. 

https://cooking.nytimes.com/recipes/1012612-light-brioche-buns

Here are some comments on the above recipe.

Comment 1: A pretty straight forward recipe, but it needs to be stated that this is supposed to be a very sticky dough. You SHOULD have some difficulty handling it. If mixing by hand, three stretch and folds during the bulk fermentation will further develop the gluten and makes the dough much easier to handle and shape later - it's worth the extra time hovering over the dough. The buns hold up incredibly well under a juicy patty and plenty of condiments

Comment 2: Great! My mixer with dough hook worked well for this. The dough is so moist that if I hadn't known that I'd measured correctly, I might've added more flour. Since it was so sticky, I had to dip my fingers in water to check the elasticity and also when shaping the dough into balls. They are big, so I could easily make ten. Finally, I baked them on an insulated baking sheet which may be why the bottoms didn't brown at all while the tops were fine, so I'll use a regular baking sheet from now on.

Moiya also suggest looking up Chef John's hamburger bun recipe.

Here is a second suggestion from Moiya:

Best Brioche Hamburger Buns


Prep time:  20 mins

Cook time:  15 mins

Total time:  35 mins

Yield: Eight 4-inch to 5-inch burger buns


Total Rising time: 2 to 4 hours
Recipe from the New York Times via Comma Ca restaurant, Los Angeles


Ingredients:


Step 1


  • 1 cup warm water
  • 3 tablespoons warm milk
  • 2 teaspoons active dry yeast
  • 2½ tablespoons sugar

Let rise for 5 minutes


Step 2

Cut butter into the flour and mix the whisked eggs in afterwards


  • 1 large egg  
  • 3 cups bread flour
  • ⅓ cup all-purpose flour
  • 1½ teaspoons salt
  • 2½ tablespoons unsalted butter, softened

Let rise for 2 hours

Roll out dough and use a round cutter to make the size of bun that you want.

  • 1 egg – beat and add 1 Tblsp. water to egg –for egg wash


Brush the egg wash on to the rising buns and sprinkle with black or white and/or poppy seeds.

  • Black and white sesame seeds and/or poppy seeds (optional)


Directions:

  1. In a measuring cup, combine one-cup warm water, the milk, yeast and sugar. Let stand until foamy, about five minutes. In the mean time, beat one egg.
  2. In a large bowl, combine both flours with the salt. Add the butter to the flours and salt and rub into the flour using your fingers or a pastry cutter, making crumbs, like you would a pie dough. Stir in the yeast mixture and beaten egg until it forms a dough. Scrape dough onto clean, well-floured counter or board. and knead, scooping the dough up, slapping and turning it, until smooth and elastic, about 8 to 10 minutes. (You may also use a stand mixer for this, eliminating the need for a bench scraper - but bread that's hand kneaded is always better in my opinion). You want the dough to remain slightly tacky, as the more flour you add, the tougher they will be when baked.

3.       Shape dough into a ball and return it to bowl. Cover bowl with plastic wrap and let rise in a warm place until doubled in bulk, about 1 to 2 hours.
4.       Line a baking sheet with parchment paper. Using dough scraper or sharp knife, divide dough into 8 equal parts. Gently roll each into a ball and arrange two to three inches apart on the lined baking sheet. Cover loosely with a piece of plastic wrap lightly coated in nonstick spray and let buns rise in a warm place for 1 to 2 hours.

5.       Set a large pan of water on oven floor. Preheat the oven to 400 degrees with a rack in the center. Beat the remaining egg with 1 tablespoon water to make an egg wash, then brush on top of buns. Sprinkle with sesame seeds ( I used both sesame and poppy seeds. Try a little sea salt too!), pressing them in gently to adhere. Bake, turning the sheet halfway through baking, until tops are golden brown, about 15 minutes. Transfer to a wire rack to cool. These can be frozen, then placed in a freezer bag for up to 2 to 3 months, When ready to use, let thaw at room temperature and heat or toast slightly, if desired.
Tuesday, 29 September 2020

Pear Honey

My friend Judi Guttormsen gave this recipe to me many years ago.  Her mother used to make it. 

1 c.                Mashed Pears

3/4 - 1 c.        Sugar 

                      Cinnamon Sticks   

Boil until soft ball stage - Until thicker


This is so Good!  

Monday, 28 September 2020

Mongolian Beef


Mongolian Beef

 Serves: 4

INGREDIENTS

400g (14 oz) flank steak

2 tbsp vegetable oil

1 red onion, cut into wedges

4cm piece ginger, finely chopped

2 garlic cloves, roughly chopped

2 dried red chillies, roughly chopped

1 tbsp corn flour (cornstarch) mixed with 1 tbsp water

4 spring onions (scallions), cut into batons


Marinade:

1 tbsp soy sauce

1 tbsp Chinese Shaoxing wine

½ tsp baking soda

3 tsp corn flour (cornstarch)


Stir-fry sauce sauce:

¼ cup soy sauce

¼ cup chicken stock

3 tbsp brown sugar

2 tbsp Chinese Shaoxing wine

INSTRUCTIONS

STEP 1
Cutting against the grain, slice the flank steak into thin strips.


STEP 2
Combine the steak with the marinade ingredients. Mix well.


STEP 3
Combine the ingredients for the stir-fry sauce.


STEP 4
Heat the oil in a wok or frying pan over high heat. Add the beef and cook, stir-frying, for about 2 minutes or until just cooked. Transfer the beef to a large tray or plate.


STEP 5
Return the same pan to the heat (no need to clean it). Add in the onion (add a little more oil if there isn’t any left in the pan), garlic and chillies. Stir-fry for about a minute. Then add the stir-fry sauce. Allow to simmer for half a minute. Then add the corn flour mixture and simmer until thickened. Add the beef back into the sauce along with the spring onion and toss until well combined.


STEP 6
Serve warm.